
Since this is predominantly a photo site, I don't usually post my DIY projects on it... but this one is very special, so I am making an exception. My boys (4 boys and their dad) have this annual tradition of going up to the Sierra Nevada forests on Thanksgiving weekend to hunt down and cut a Christmas tree for us to decorate. Most years, they've come home with trees that are over twelve feet tall! This year, though, the Sierras have been pounded with snowstorm after snowstorm, and on the day the boys were supposed to go hunt for the tree, the roads were impossible to drive on. Also, this year, the boys have an uncharacteristically longer Christmas break from school, so we decided to take the long drive up to Washington state to spend the holidays with the extended Nordhagen family.
Needless to say, my husband and I reluctantly agreed to opt out of having our own "live" tree this year... However, in our effort to find alternatives to a Christmas tree, one of my boys came up with this crazy idea of making one out of candy canes! At first, I dismissed the idea as far-fetched, crazy, impossible. But then I came across a box of candy canes at a grocery store one day and admired how beautifully they looked. Then I thought the candy cane tree wouldn't be such a bad idea after all!!!
The engineering phase is really the most difficult part of the process. Once I've decided which materials to use and how to make the structure stay up and remain stable, the work of assembling the tree was actually a lot of fun. First, a little background on The Candy Cane:
Legend has it that in 1670, a choirmaster at a Cathedral in Cologne, Germany decided to give the children peppermint "sticks" to suck on so that they wouldn't be too bored during the really long Christmas church services. Then, in 1847, a German-Swedish immigrant decided to hang them up as decorations on his Christmas tree. In the 1920s, Lt. Bob McCormack found a way to mass produce them and distribute them as Christmas treats. It wasn't until later in the century that more Christian symbolism was attached to the candy cane.
In the modern Christian tradition, the shape of the candy cane, J, stands for Jesus Christ, while the upside down cane symbolizes a shepherd's crook, for the shepherds who visited the baby Jesus at the manger, and for Jesus' symbolic role as The Good Shepherd. The red stripes stand for the blood Christ shed for us on the cross, while the white stripes symbolize the purity associated with the cleansing of our sins as a result of His sacrifice.
Whichever way you interpret the meaning of the candy cane, I think it is an essential element of Christmas, and our house is not complete at Christmastime without them.
So, without further ado, here are the steps we took to make our beautiful candy cane tree. There was a lot of trial and error involved, but the final product is nothing short of magnificent, if I do say so myself ;-)

Yep, "BOB'S CANDY CANES" still exists... named after the original Lt. Bob McCormack, who came up with the idea of mass producing candy canes.

For the main structure of the tree, I got these styrofoam circles at Michaels, along with a styrofoam cone for the top. Originally, I was going to use the skewers to provide the spaces in between the circles, but that didn't work out too well... so...
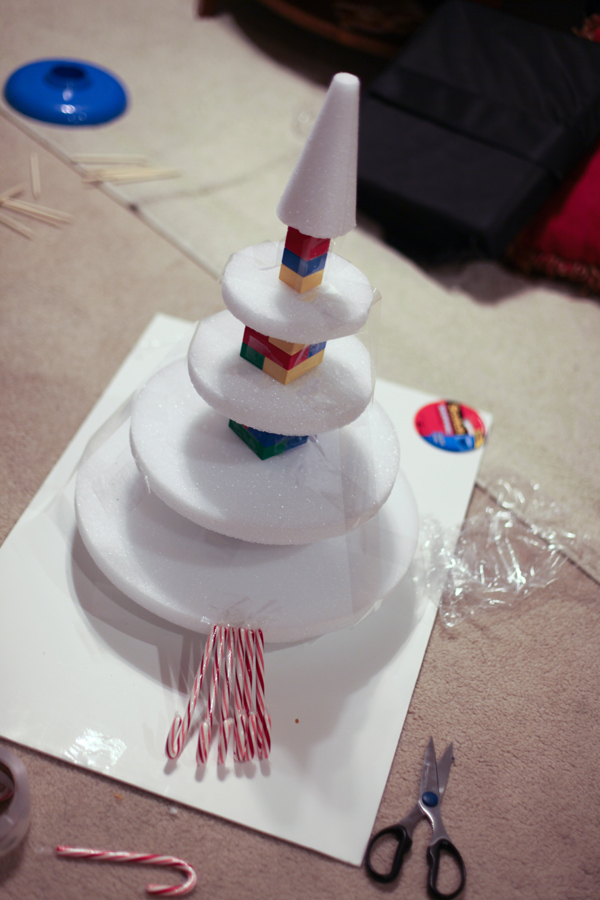
I decided to improvise and use my sons' Lego blocks instead. I glued them to the styrofoam to keep them from moving and falling apart.

If you don't have any Legos, you may also purchase these styrofoam blocks from Michaels and cut them to the right height.
Make sure you place the structure at the final display area so that you won't have to move the entire tree later. Now, the fun begins! I realized too late that I shouldn't have taken the plastic wrappers off the styrofoam circles, because I wanted to stick each unwrapped candy cane onto the circles with tape. The tape sticks better to plastic than to styrofoam. I will keep this in mind for next time! ;-)

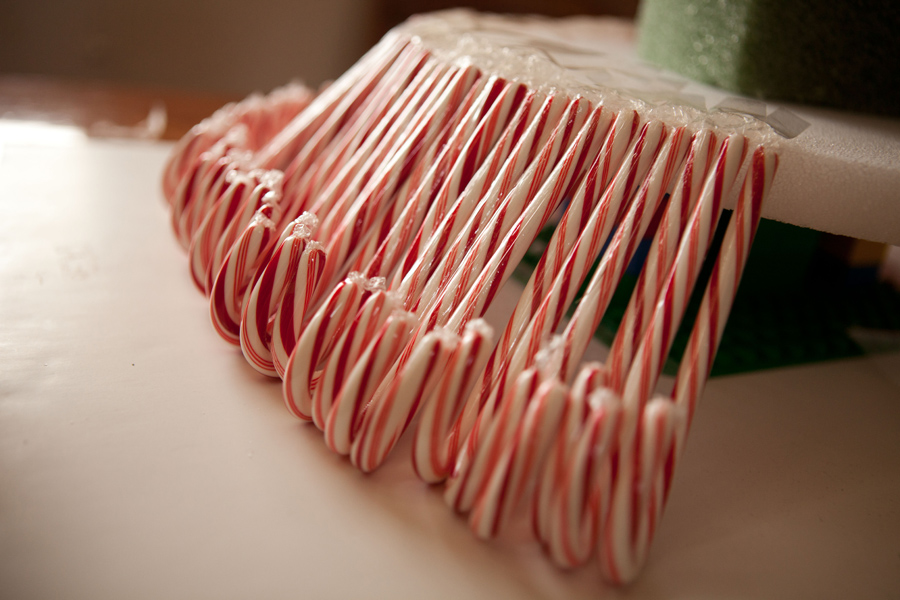
It's nice to have some little helpers, to take the candy canes out of the boxes and straighten out to ends of the plastic wrap for easier taping.

After each layer round is complete, make sure to double up the tape to prevent the candy canes from falling out of place.

After 36 boxes of candy canes, this is how far we got! I needed to go back to the store for more...

Finally, 44 boxes later, the tree has come to life!!!
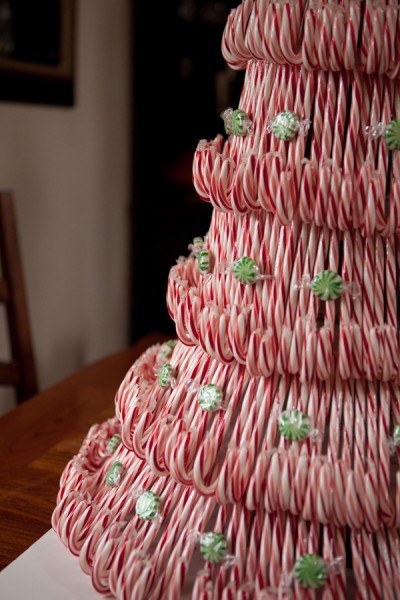
For the ornaments, we used green pinwheel candies (peppermint-flavored, just like the candy canes!) bought at the bulk section of our local Winco Foods grocery store.

The tree top is simply a miniature candy cane tree, stuck onto the top with lots of tape! (This project could have easily been sponsored by Bob's Candy Canes AND Scotch Tape.)

Now for the topper...

Soften 4 red Starburst candies (get it, STAR topper out of STARburst!) in the microwave for 15 seconds, then roll them flat on a non-stick surface with a non-stick rolling pin.

Use a star-shaped cookie cutter to cut out the star.
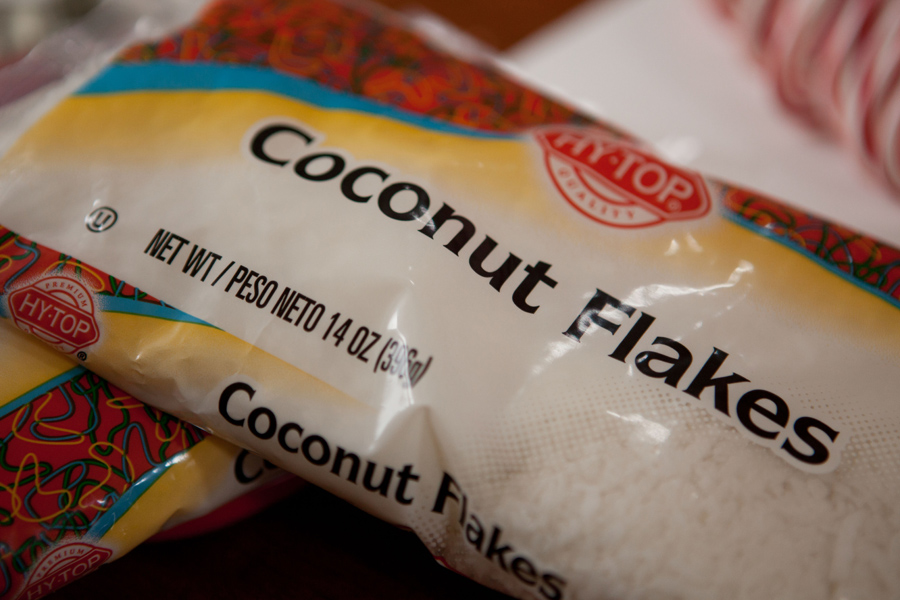
Use coconut flakes to make snow for the base of the tree... (because it's just not Christmas without SNOW!)

Stick a toothpick into the Starburst star, stick that into another softened Starburst shaped into a cone base, then put that on top of the tree... and TA-DA... We have a Candy Cane Christmas Tree!!! :-)