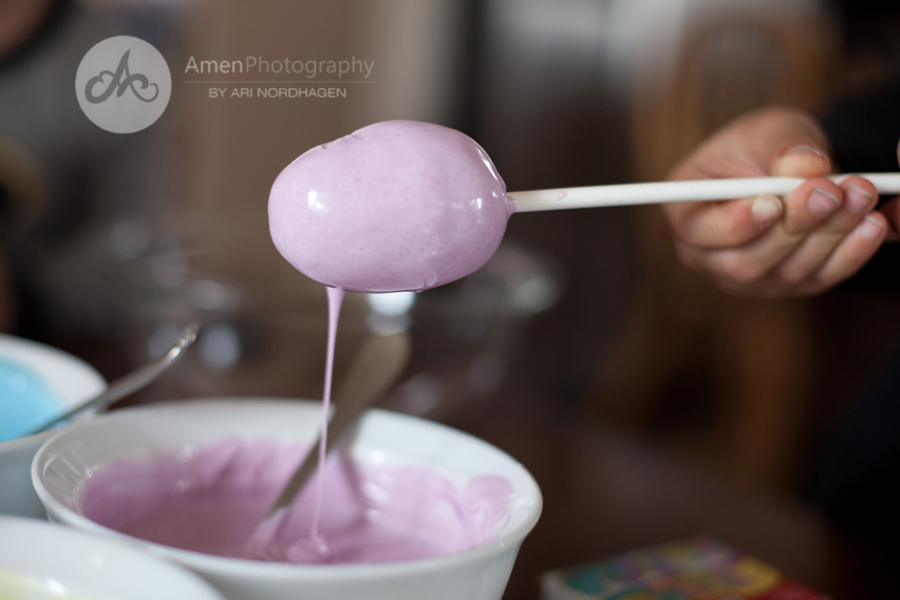
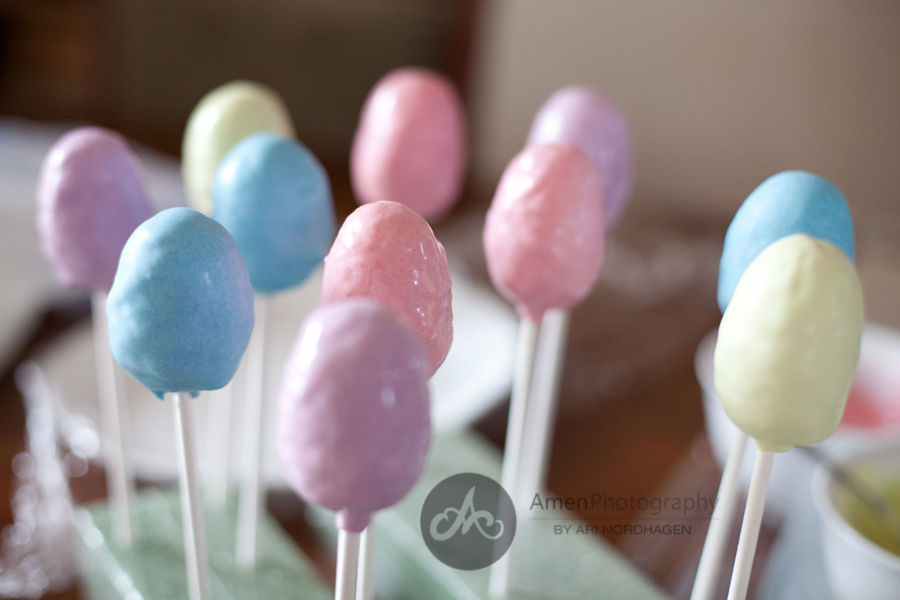
Hello again! You are seriously going to think that this is more of a craft blog than a photography blog, but I promise you.... if you just go to my Facebook page, you'll see pretty much all of my most recent work. I seem to like blogging only once in a while, and when I do, I tend to blog about some fun stuff I've been making with my children. :-) In honor of Easter (this was actually last year's project -- so the boys were all a year younger), I made these special cake pops with my boys, because I always wonder what else I can do with those plastic eggs after the boys ravenously empty out their contents after a hunt. I had this idea of making Easter egg-shaped cake pops that look like real eggs when you open them (with the yellow yolk in the middle and everything), so I searched the web for instructions. Alas, there were none... so I had to make them up. Good thing the boys are on Spring Break!!! They did help... even just a little. :-)
Ingredients: boxed white cake, boxed yellow cake (I bought the lemon flavor just for fun), white frosting (I made that one from scratch because I forgot to buy the canned version), Pam, candy melts, food coloring, styrofoam block, 8-inch cookie sticks, plastic Easter eggs.
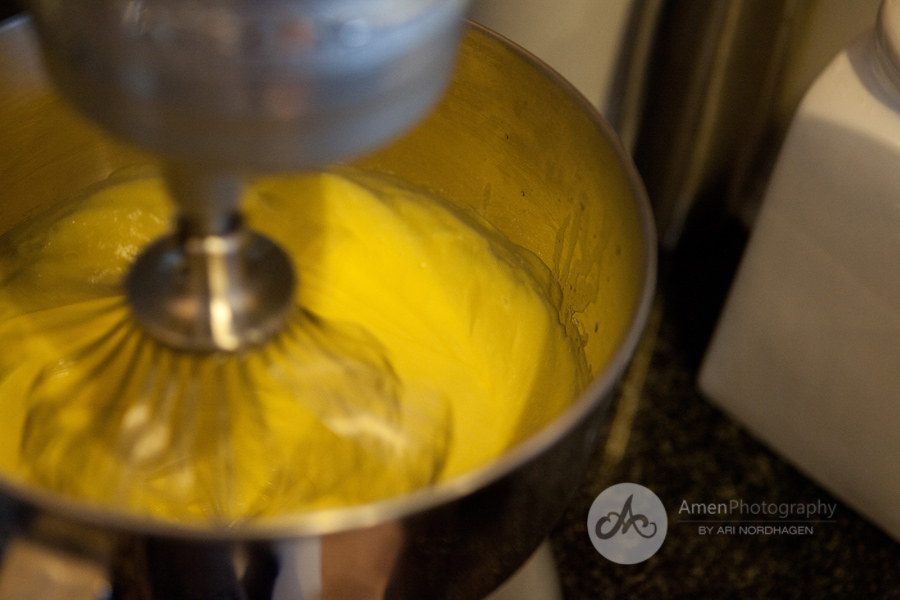
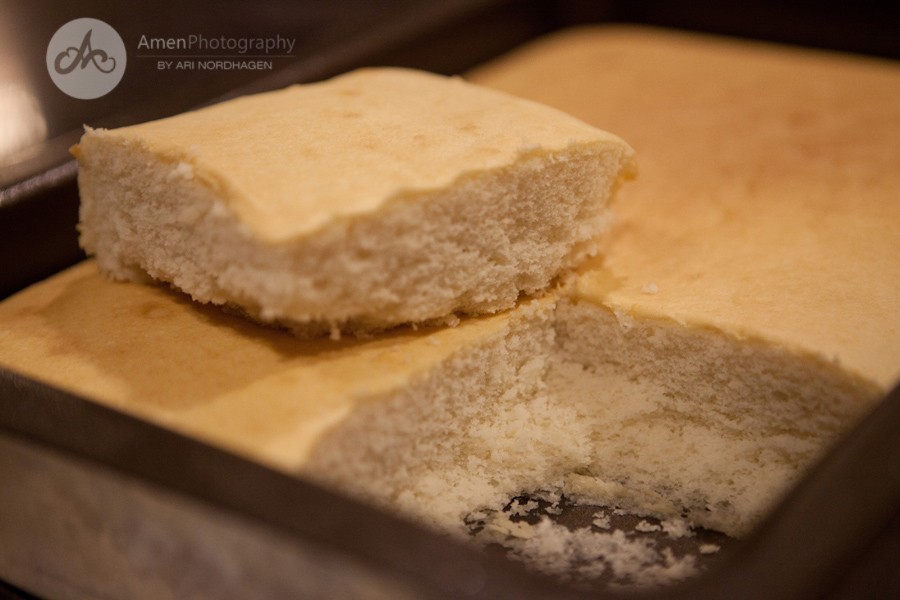
First, bake the yellow cake.
Crumble the cake.
Add frosting and mix until combined (until it sticks together enough to be able to mold -- do not use all the frosting or it will be too sweet).
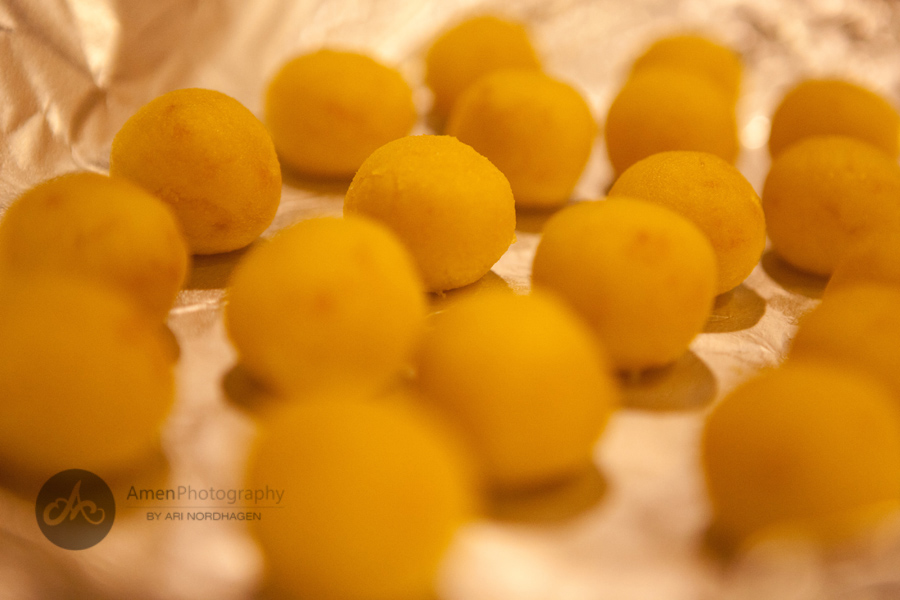
Make balls that fit inside a plastic Easter egg with about 1/4 of an inch to spare all the way around (use the bottom - not the pointy - side of the egg for measurement).
Chill cake balls in the fridge for about an hour or until firm.
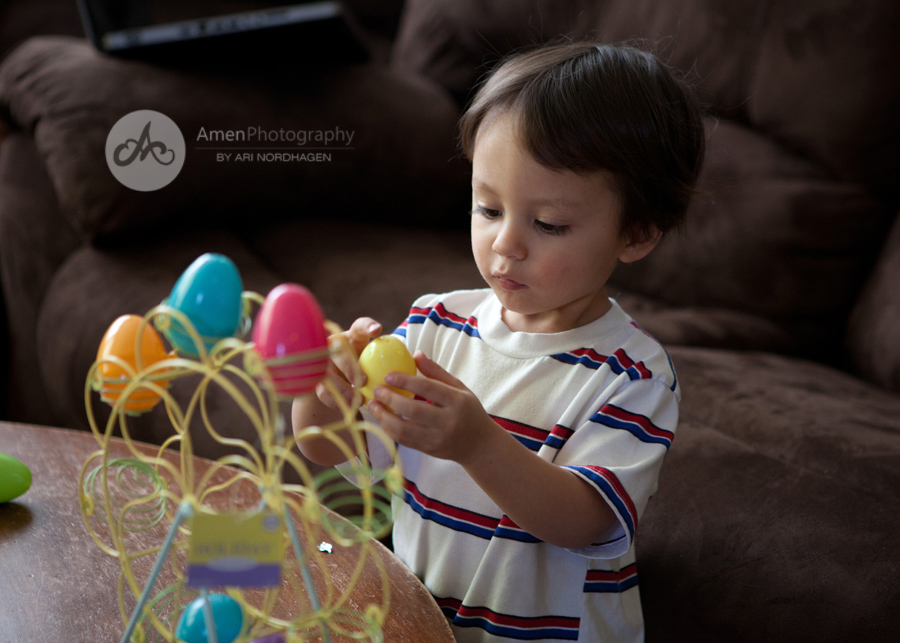
Watch 2-year-old break all the other Easter eggs.
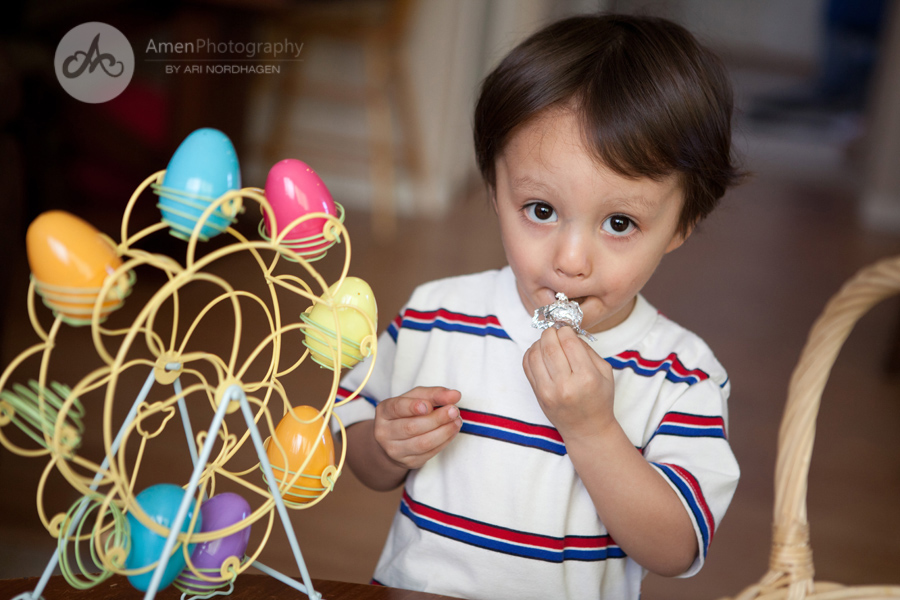
Let 2-year-old eat chocolate inside eggs.
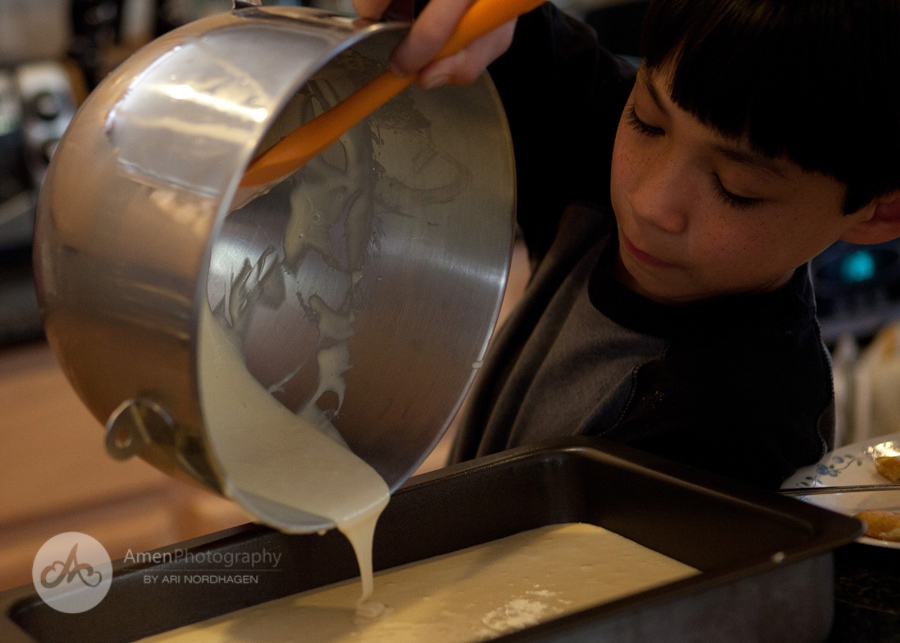
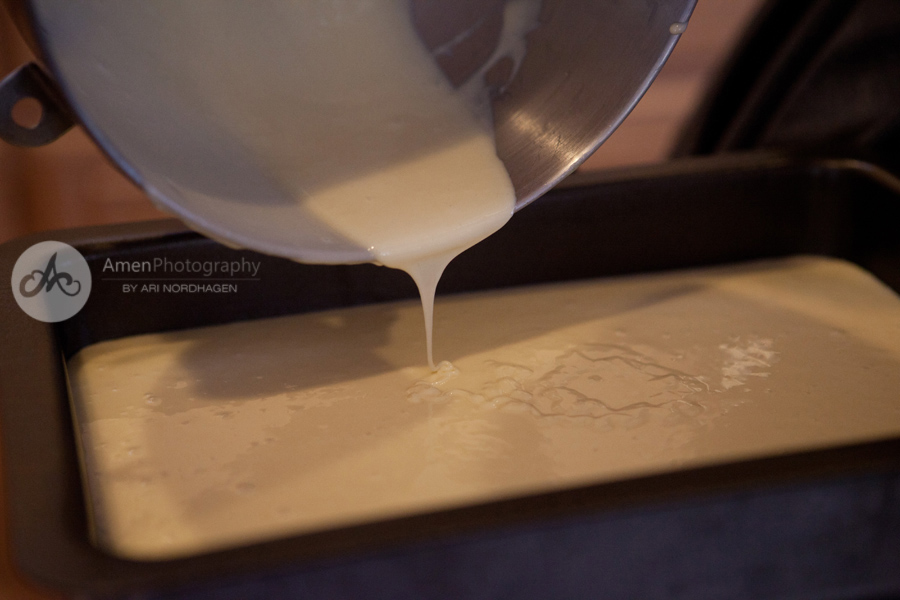
Make 9-year-old bake the white cake ;-) (with some assistance).
Remember, it is white because you don't put the egg yolks in. Trust me, I learned the hard way and wasted a whole hour.
Watch 6-year-old come up with creative ways to put the broken plastic eggs back together.
Cut up the white cake.
Trim the "brown" crust off with knife.
Mix frosting. You may also use a little bit of condensed milk for that dulce de leche flavor!!! :-)
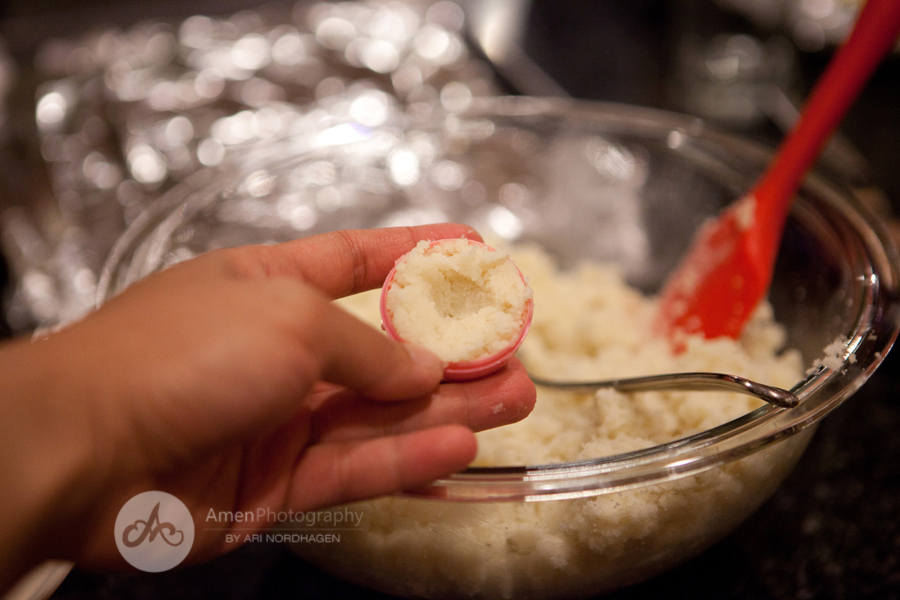
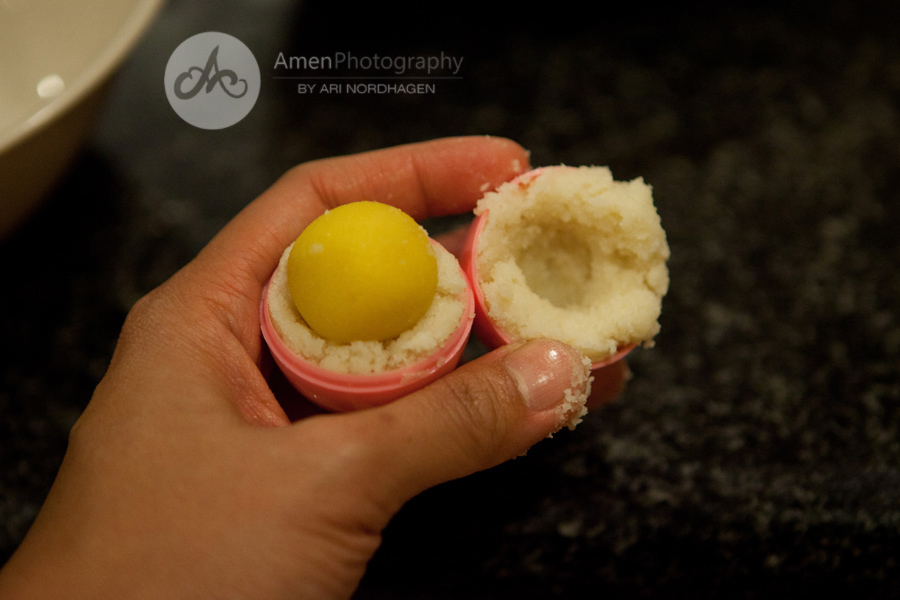
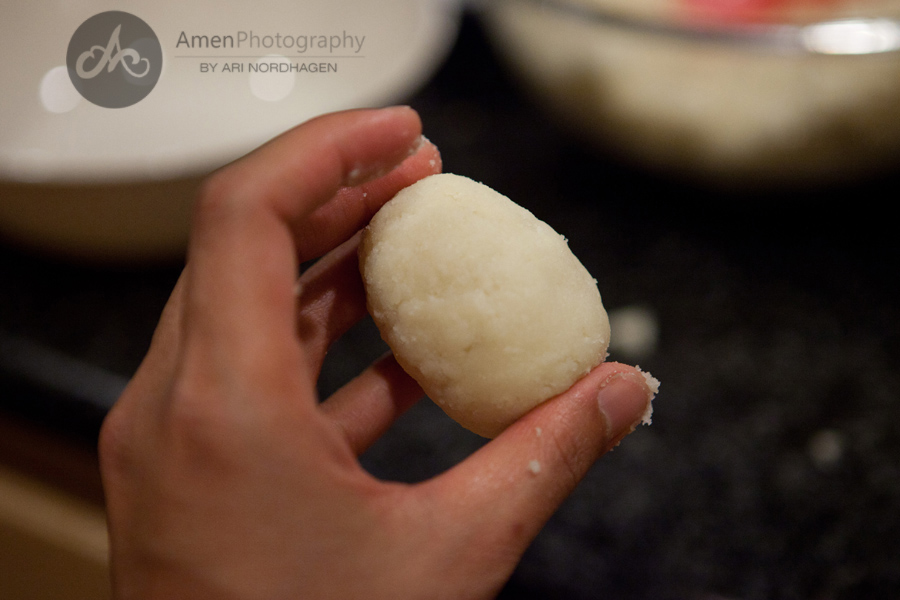
Press the "white" mix to the sides of the bottom part of a plastic egg (make sure to use Pam so it doesn't stick). Then, make an indentation with your thumb about the size of half the yellow cake ball you made.
Do the same to the upper half of the plastic egg.
